Last updated November 18, 2026
Room Addition Contractor Maintenance Schedule: What to Do and When
Las Vegas sees roughly 300 days of direct sun a year, and that number is the whole reason this guide exists. Exterior caulk joints on a room addition can fail in under 24 months here without the right product and a twice-yearly inspection. Most homeowners don’t find out until they’re looking at stained drywall and a soft spot behind the baseboard. Add the thermal swing between a 110-degree July afternoon and a 40-degree January night, then throw in monsoon-season wind-driven rain, and you have a maintenance picture that no national home-care app will generate for you. What follows is the schedule we actually recommend for additions built in Las Vegas, month by month.
Quick Answer
A room addition in Las Vegas needs two full inspections a year – one in late spring before the heat peaks, one in early fall after monsoon season – plus a quick visual walk-around each quarter. The spring inspection focuses on caulk, sealant, stucco cracking, and the old-to-new structural joint; the fall inspection focuses on roof membrane, flashing, and water intrusion at penetrations. Everything else (HVAC, electrical, drainage) gets checked on that same two-visit rhythm.
Table of Contents
- The Pre-Summer Heat Prep Inspection (March through May)
- The Post-Monsoon Water Intrusion Check (September through October)
- Choosing Caulk and Sealant That Survives Las Vegas UV
- The Old-to-New Joint: Thermal Expansion in Stucco and Block
- Roof Membrane and Tile Inspections for Low-Slope Additions
- Electrical Panel Tie-In and HVAC Performance at Year Two
- The Full Month-by-Month Maintenance Calendar
- Common Mistakes to Avoid
The Pre-Summer Heat Prep Inspection (March through May)
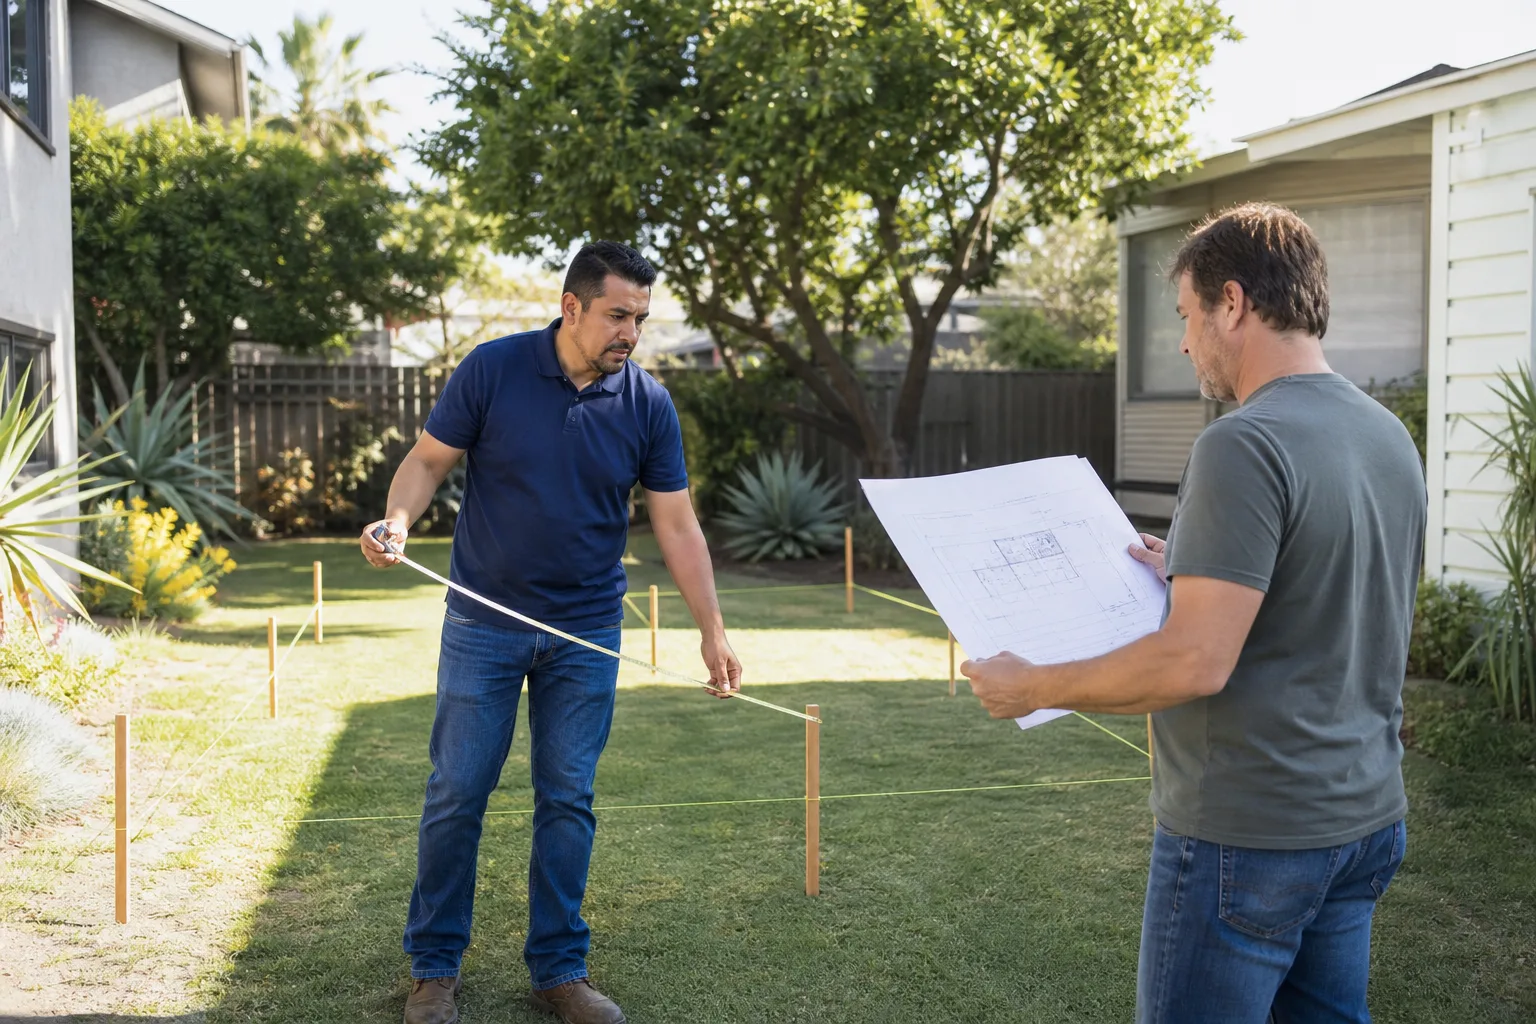
Spring is when you have the most working days before the heat sets in, and it’s when small failures are still cheap to fix. The goal of this visit is to seal the building envelope before the UV load hits its peak. In our experience, additions in the older central neighborhoods – Huntridge, John S. Park, the streets off Charleston – tend to show joint movement earlier than newer builds in Summerlin or Southern Highlands, simply because the original structures were built to different standards and the transition point takes the stress.
Here’s what the spring inspection should cover, in order:
- Walk the perimeter and mark every caulk joint that has pulled, cracked, or gone chalky. Photograph them so you can compare next year.
- Look at the stucco on all four sides for hairline cracking, especially at corners, window and door edges, and where the addition meets the original house.
- Check the roof-to-wall flashing where the addition ties into the existing roofline. This is the most common leak point on any addition.
- Clear the HVAC condenser of debris, check that the pad is level, and confirm the disconnect is intact.
- Test the smoke and CO detectors in the new space and confirm they’re interconnected to the main house.
- Look at drainage – grading, downspouts, and any swale – so water moves away from the addition before summer storms.
If you built through a room addition contractor in Las Vegas, this is also a good moment to reread your one-year guarantee terms and note what’s still covered. The Garrison Standard, the warranty framework behind every Fielding ADU Builders project, covers workmanship defects for 365 days. Anything that failed in that window gets corrected at no charge, and a spring walk-through is the right time to flag it.
The Post-Monsoon Water Intrusion Check (September through October)
Las Vegas averages only about four inches of rain a year, but that rain tends to arrive in a handful of violent monsoon events between July and September, driven sideways by wind. That’s a very different water challenge from steady drizzle, and it’s why the fall inspection matters so much here. Wind-driven rain finds every gap a vertical rainstorm wouldn’t. We’ve seen additions that stayed dry for two years get a wet interior wall after one bad August cell moved through the valley.
The fall inspection should target:
- Ceiling and upper-wall drywall inside the addition – look for any discoloration, bubbling paint, or a soft spot when you press.
- The base of exterior walls for stucco staining or efflorescence (the white chalky residue that signals water moving through masonry).
- Window and door frames – run a hand along the interior sill and check for moisture after a rain.
- Roof penetrations – vent stacks, skylights, and any HVAC curb on the addition roof.
- Attic or crawl space if the addition has one – look for water staining on rafters or insulation.
- Gutters and downspouts – clear them so the next storm drains away from the new foundation.
If you find active intrusion, don’t wait for the next rain. A small flashing repair runs a few hundred dollars; replacing soaked drywall, insulation, and framing can run into the thousands. Call (888) 418-2161 and we’ll send someone out to look before it gets worse.
Choosing Caulk and Sealant That Survives Las Vegas UV
Not all exterior sealant is created equal, and in Las Vegas the difference is measured in months. Standard acrylic-latex caulk that holds up fine in Seattle will chalk, crack, and pull away from a joint in a single summer here. If a contractor used the wrong product on your addition, you’ll be redoing it every year until you switch.
What actually holds up under Las Vegas sun:
- 100% silicone sealant – the workhorse for exterior joints that see direct sun. It won’t shrink, stays flexible at temperature extremes, and handles UV without chalking. Downside: it can’t be painted, so it has to be used where the color is acceptable.
- Polyurethane sealant – paintable, very durable, excellent for joints that need to match the stucco or trim color. Look for a product rated for high-UV exposure and at least 25-year joint movement.
- Hybrid polymer sealants (often sold as “advanced polymer” or “silane-terminated polymer”) – paintable like polyurethane, UV-stable like silicone, and they bond to damp surfaces. This is what we typically specify on new additions because it handles both the sun and the occasional monsoon.
What degrades quickly and should be avoided on any sun-facing joint: basic painter’s caulk, acrylic-latex, and any product that doesn’t explicitly state UV resistance on the label. A $4 tube will cost you a $40 re-caulk job a year later.
For homeowners who want the job done once, we use UV-rated sealants on every exterior joint and note the product used in the project file, so you always know what’s on the house. When we build a room addition through a garage conversion contractor in Las Vegas scope or a full new-build addition, the same sealant standard applies.
The Old-to-New Joint: Thermal Expansion in Stucco and Concrete Block
Every room addition has a transition line where the new structure meets the original house, and in Las Vegas that line is under constant stress. The swing from a 110-degree afternoon to a 40-degree night moves stucco, concrete block, and framing at slightly different rates. Over a few seasons, that differential shows up as a hairline crack at the joint, a pulled caulk line, or a small gap at the top of the wall where the new roof meets the old.
Here’s what to inspect at the joint each spring:
- Look for a vertical crack running the full height of the wall where the addition meets the original. A hairline is normal movement; anything wider than a credit card edge is worth a call.
- Check the caulk in that vertical joint – if it’s pulled away, it needs to be cut out and replaced with a high-movement sealant (not the same product used for a tight corner).
- Inspect the roof transition where the new roofline meets the original – the flashing should be intact and the sealant should still be pliable, not brittle.
- Look at the interior wall on either side of the joint for new cracks, paint cracking, or a door that’s started to stick (which can indicate the structure has shifted).
- Check the concrete block at the base for any step cracking or displacement.
Las Vegas code allows for expansion joints in masonry walls, and a well-built addition will have them. If yours doesn’t, or if the joint has opened beyond a quarter inch, have a structural check done before you seal it – filling a moving joint with rigid caulk makes the problem worse, not better.
Roof Membrane and Tile Inspections for Low-Slope Additions
Most room additions built onto existing Las Vegas homes get a low-slope roof, either because the original house has one or because the addition was designed to tie into the existing flat section. Low-slope roofing is where most water problems start here, because it doesn’t shed water the way a pitched roof does and because the sun bakes it relentlessly.
What to inspect, and when:
- Spring: walk the roof (if it’s safe to do so) or use binoculars from the ground to check for blistering, alligator cracking, or a membrane that’s pulled at the seams. Look at the flashing around every penetration and at the parapet walls.
- Fall: check the roof drains and scuppers for debris, look for ponding after a rain, and inspect the roof-to-wall transition where the addition meets the original structure.
- Every two years: have a roofing contractor do a full inspection – not a repair, just an inspection – and document the condition. Membrane roof lifespans in Las Vegas run shorter than the manufacturer’s national average because of UV load, so a two-year rhythm catches replacement needs before a leak starts.
Tile roofs on additions need a different check: loose or cracked tiles, deteriorated underlayment at the edges, and flashing at valleys and penetrations. Don’t walk a tile roof yourself unless you know where to step – you’ll crack tiles and create the next leak. This is one area where the work is genuinely worth paying for, and our technicians have up to 20 years of experience with the tile and low-slope roofs common in Las Vegas.
Electrical Panel Tie-In and HVAC Performance at Year Two
Two years after construction is when the addition’s systems either prove themselves or start showing problems. The electrical panel tie-in and HVAC connection are the two systems most likely to need attention, and both are worth a professional check at the two-year mark even if nothing seems wrong.
Electrical panel check: have a licensed electrician open the panel and look for heat discoloration on the breaker feeding the addition, loose lugs, and proper torque on the main connections. A poorly torqued lug can run warm for years before it fails. This is genuinely dangerous work – panel interiors carry live current and arc flash risk – so don’t open the cover yourself. A licensed electrician should do this check every two to three years.
HVAC check: have the system serviced at the two-year mark and annually after. The check should cover refrigerant charge (an undercharged system works harder and fails sooner in Las Vegas heat), condenser coil cleaning (dust and cottonwood fluff build up fast here), filter condition, and ductwork connections at the addition. If the addition has its own mini-split, check the line-set insulation and the outdoor unit pad level. A $150 service call now prevents a $4,000 compressor replacement later.
The same applies to any addition we build through the ADU builders in Las Vegas scope, whether it’s a conventional stick-build or a prefab platform like Cover, Dvele, or Mighty Buildings. The two-year check is standard, and if something in the electrical or HVAC was installed wrong, the 365-Day Done Right Promise covers it – and if it fails after that window, we still want to know, because a repeat failure pattern tells us something about the install.
The Full Month-by-Month Maintenance Calendar
Here’s the schedule we hand to every homeowner after a project closes out. It’s set up for Las Vegas specifically – the spring and fall inspection windows are timed to the heat and monsoon seasons, not to a generic national calendar.
| Month | Task |
|---|---|
| January | Interior walk-through: check for new cracks, sticking doors, paint bubbling. Test smoke/CO detectors. |
| February | Schedule spring inspection with a contractor. Order UV-rated sealant for any joints you already know need redoing. |
| March | Spring heat prep: full exterior perimeter walk, mark failing caulk, inspect stucco, inspect old-to-new joint, check roof-to-wall flashing. |
| April | Re-caulk exterior joints with 100% silicone or hybrid polymer. Clean HVAC condenser. Clear roof drains. Check grading and downspouts. |
| May | Confirm HVAC is serviced and refrigerant charge is correct before the first 100-degree week. Check attic ventilation. |
| June | Quarterly visual walk – perimeter, roof from ground, interior ceiling. Nothing major, just eyes on. |
| July | Watch interior ceilings and upper walls after any storm. Note any new staining. |
| August | Post-storm interior checks. Clear any debris from roof drains after monsoon events. |
| September | Post-monsoon water check: interior ceilings, exterior base of walls, window sills, roof penetrations, attic. |
| October | Repair any intrusion found. Re-inspect old-to-new joint after the season’s thermal swing. Snug check on exterior door hardware. |
| November | Quarterly visual walk. Test detectors again. Clear gutters for winter. |
| December | Two-year systems check if due: electrical panel (licensed electrician), HVAC service, roof inspection if it’s the two-year mark. |
For most homeowners that’s about two focused contractor visits a year and ten minutes of visual walking a month. That rhythm is what keeps an addition holding up past the ten-year mark in Las Vegas, which is roughly when you’d otherwise start seeing the kind of problems that cost five figures to correct.
Common Mistakes to Avoid
- Using acrylic-latex caulk on sun-facing joints. It chalks and pulls within a single Las Vegas summer. You’ll redo it every spring until you switch to silicone or hybrid polymer.
- Sealing a structural crack with rigid caulk. If the old-to-new joint has opened, filling it with a non-movement product traps the stress and makes the crack worse. Diagnose first, then seal with a high-movement product.
- Waiting for a leak to schedule the fall inspection. By the time you see interior staining, water has usually been moving through the assembly for months. The fall check exists to catch it at the flashing, not at the drywall.
- Skipping the two-year electrical and HVAC check. Loose lugs and low refrigerant don’t announce themselves. Both are cheap to check and expensive to fix after they fail.
- Walking a tile roof without knowing where to step. You’ll crack tiles and create the next leak. Hire the inspection.
- Letting a contractor disappear after the punch list. If your contractor won’t come back for a warranty matter, you don’t have a warranty, you have a phone number that no longer works. Choose one with a written guarantee and a live person on the line at any hour.
- Ignoring the roof drains after a monsoon. A clogged drain ponding on a low-slope roof is the fastest route to a ceiling failure. Clear them the week after every storm.
When to Call a Professional
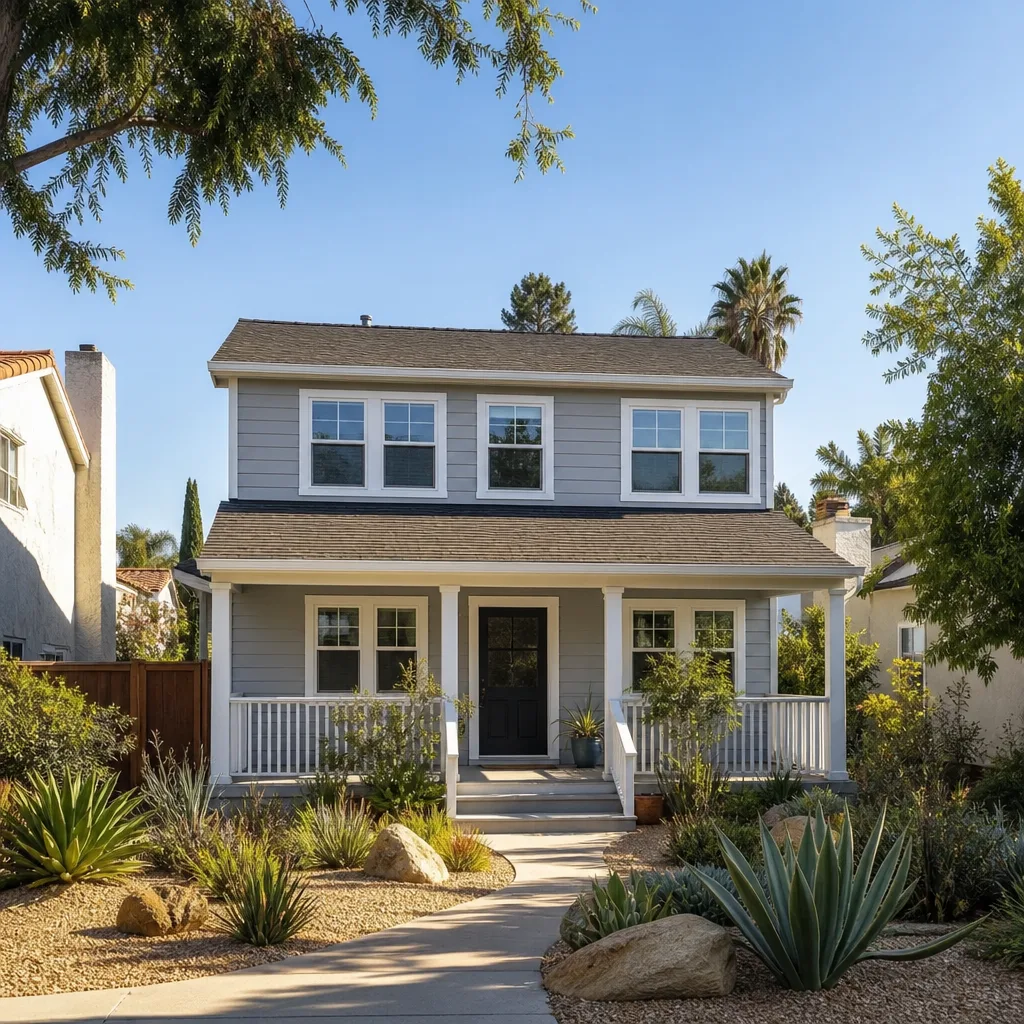
Call a professional when the issue is structural (a joint that has moved more than a quarter inch, a door that’s started sticking in a wall that was fine last year), when it involves height or the roof, when it involves the electrical panel, or when you’re not sure what you’re looking at. Water intrusion counts as a call-now situation, not a wait-and-see – a flashing repair is a few hundred dollars, a drywall and insulation replacement is thousands.
For routine inspections and any work that falls under the warranty, call us. Fielding ADU Builders Las Vegas offers free estimates in Las Vegas – call (888) 418-2161. A live person answers 24 hours a day, and we’ll come out, look at the situation, and give you a written price before any work starts. If the issue traces back to workmanship within the one-year window, the Garrison Standard says we come back and make it right at no charge. No change orders, no moving numbers, no callback queue.
Frequently Asked Questions
Twice a year, at minimum: once in late spring before the heat peaks and once in early fall after monsoon season. Those two visits catch the seasonal failure modes – UV degradation and thermal expansion in spring, water intrusion in fall – before they become costly. A quick visual walk-around once a quarter between those visits is plenty for everything else.
100% silicone or a hybrid polymer (silane-terminated polymer) sealant for any exterior joint that sees direct sun. Both hold up to UV without chalking and stay flexible through the thermal swing. Avoid acrylic-latex and basic painter’s caulk on exterior joints – they fail within a year or two here. Call (888) 418-2161 if you want a recommendation for a specific joint.
Because the builder most likely used a product rated for a milder climate. Standard exterior caulk that works in the Pacific Northwest chalks and pulls in Las Vegas UV well before the manufacturer’s stated lifespan. The fix is to cut out the failed caulk, clean the joint, and replace it with a UV-rated product – and then re-inspect every spring.
A routine annual inspection with a contractor typically runs $150 to $350 depending on scope, and a full two-year systems check with an electrician and HVAC technician can run $400 to $700. Flashing repairs usually run $250 to $600, and re-caulking a typical addition’s exterior joints runs $300 to $800 in materials and labor. Call (888) 418-2161 for an exact quote – estimates are free.
Not on our projects. Every Fielding ADU Builders project gets a written price before a single nail is driven, and the number you approve on day one is the number on the final invoice. No change orders unless you request a scope change, and no moving numbers at the door. If you’re working with a different contractor, ask for the written price before work starts, every time.
Yes – every addition we build is permitted through the local jurisdiction and inspected by the city or county as required. Unpermitted additions are a maintenance problem waiting to happen, because they often don’t meet the structural, electrical, or setback requirements, and the failure modes we cover in this guide (joint movement, panel tie-in problems, roof flashing) get worse when the original work wasn’t inspected. If you’re looking at a home with an unpermitted addition, get it checked before you buy.
The Bottom Line
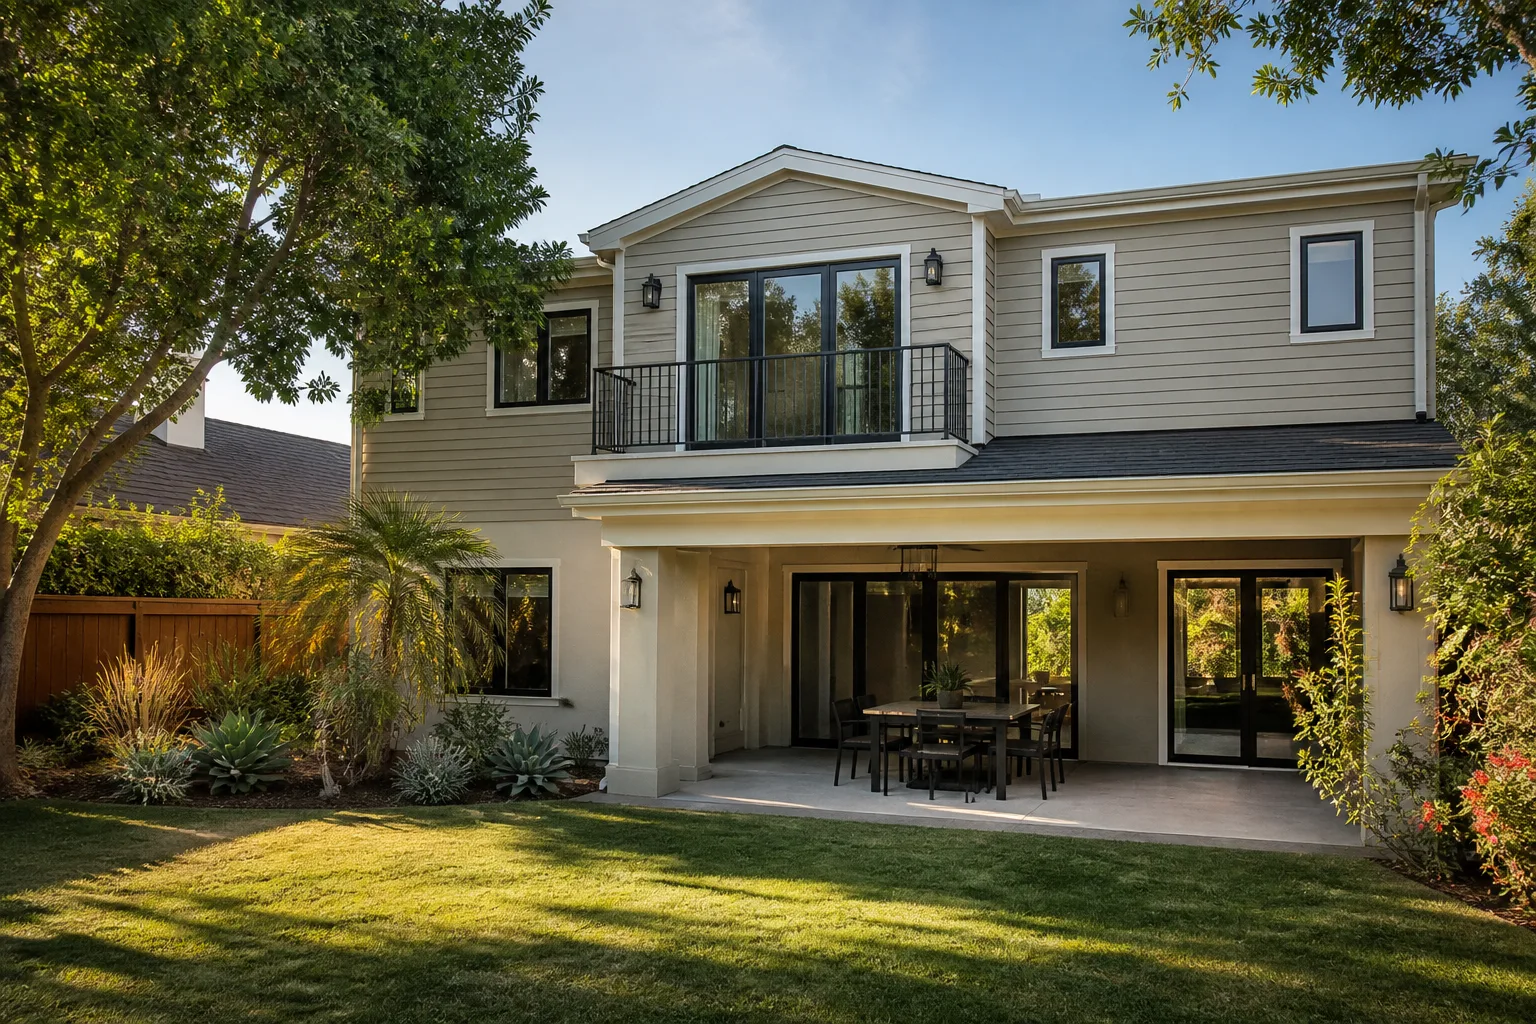
A room addition in Las Vegas is a durable asset if you maintain it on the right schedule and a slow-draining liability if you don’t. The two-visit rhythm – spring heat prep and fall post-monsoon water check – covers the failure modes that Las Vegas climate actually produces: UV degradation of sealant, thermal movement at the old-to-new joint, and wind-driven water intrusion at the roof and flashing. Add the two-year electrical and HVAC check, use UV-rated sealant on every sun-facing joint, and you’ll get decades of service out of the space. The rest is just paying attention.
If you’re planning a room addition, a garage conversion, or an ADU and want the work done by the book with a written price and a year of coverage behind it, explore Fielding ADU Builders Las Vegas home and our room addition contractor in Las Vegas service. For garage conversions specifically, see our garage conversion contractor in Las Vegas page, and for detached backyard units, our ADU builders in Las Vegas page has the full picture.
Call (888) 418-2161 for a free estimate. A live person answers every call, 24 hours a day, and we’ll walk the site, talk through the build method – whether that’s a prefab platform like Cover, Dvele, or Mighty Buildings or a conventional James Hardie-sided addition – and put your price in writing before any work starts.
Written by the team at Fielding ADU Builders Las Vegas.